Help System
 |
Help System |
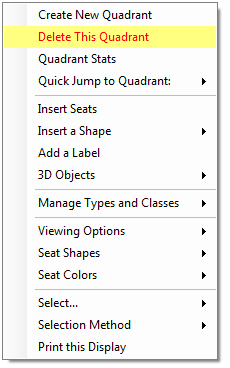
To create a NEW, empty quadrant for your venue, simply RIGHT CLICK anywhere on the display quadrant and select CREATE NEW QUADRANT from the pop up menu:

The quadrant display will turn blank, since the new quadrant you are creating is empty, and the top toolbar will change to something like this:
![]()
Since the quadrant is freshly new, it has no name yet, so the computer will assign it a name using its record ID number. In the example above, this is quadrant #160 in the system, so the computer has automatically assigned it the name of QUADRANT #160. You will want to edit that to suit your venue. New quadrants also start out with INTERNET TICKETING DISABLED, as shown above. You will want to change that AFTER you have finished creating your entire venue.
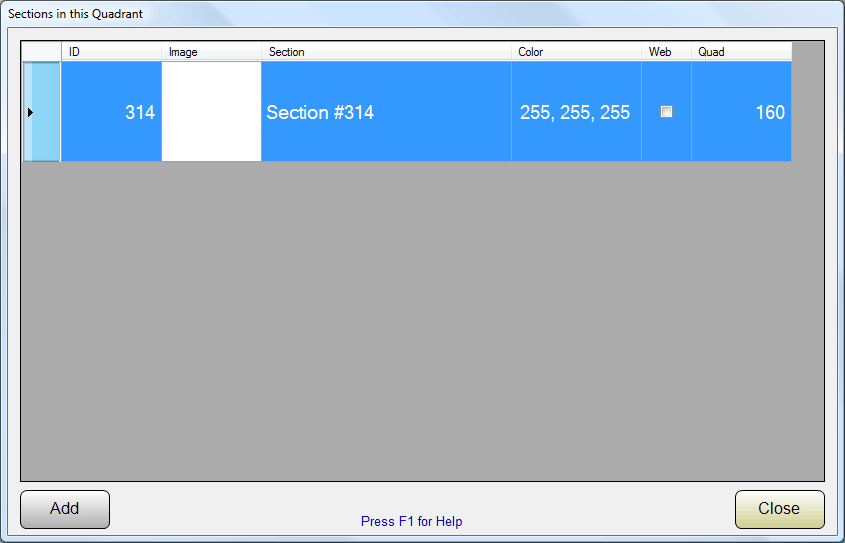
In order to allow you to being adding seats right away, whenever you create a NEW quadrant, the system will AUTOMATICALLY create a NEW Seat Section for you. Just like the new quadrant, a freshly created seat section has not been assigned a proper name, so the program automatically generates a name using its record ID. If you were to look at the sections available for your brand new quadrant, you would see something like this:

In the example above, a NEW section with an ID of 314 has been created. The computer auto assigned it a name of SECTION #314, with a default color of WHITE, and with INTERNET (WEB) TICKETING TURNED OFF. You will want to edit this and other sections in your new quadrant to suit your venue.
See Also: