
Help System
 |
Help System |
Tick-It! Trak Pro allows you to import your existing Events from NCS's venerable old program, Tick-It! 2K Plus. This will enable users that are upgrading from Tick-It! 2K Plus to seamlessly migrate to Trak Pro. Now, Tick-It! 2K Plus keeps all of your Event information spread across a bunch of files. There are seating diagram information files with an extension of .HSE. There are Binary Seat Status files with an extension of .EVT. There are customer and transaction records in Microsoft Access .MDB files. These older formats are much simpler, and contain a great deal less information than Trak Pro keeps. In order to import your Events, Trak Pro has to read and digest ALL of these files. You may or may not have already imported some of these files in earlier operations. This import wizard let's you skip steps you have taken care of previously.
From the TICKETING menu, select ATTRACTIONS / MOVIES / EVENTS then IMPORT EVENTS FROM TICK-IT! 2K PLUS

The wizard will start with the following screen:
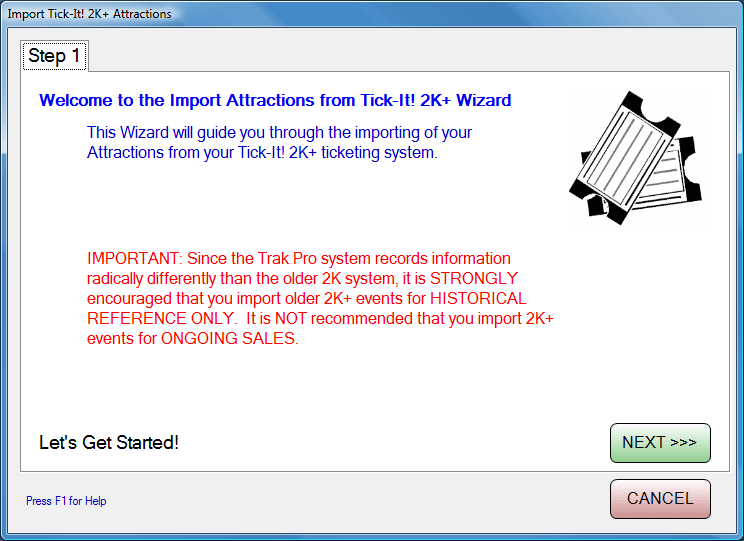
This bears repeating:
IMPORTANT:
Since the Trak Pro system records information radically differently than the
older 2K system, it is STRONGLY encouraged that you import older 2K+ events for
HISTORICAL REFERENCE ONLY. It is NOT recommended that you import 2K+ events for
ONGOING SALES.
Click NEXT to begin your import:
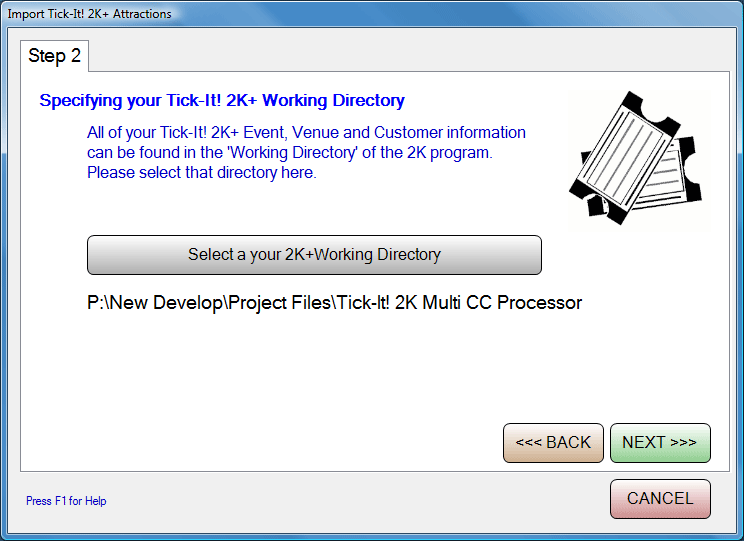
Click the SELECT button to browse to where your Tick-It! 2K Plus working directory has been set. This is the folder that contains ALL of you HSE, EVT and MDB files. Click NEXT after setting your working directory:
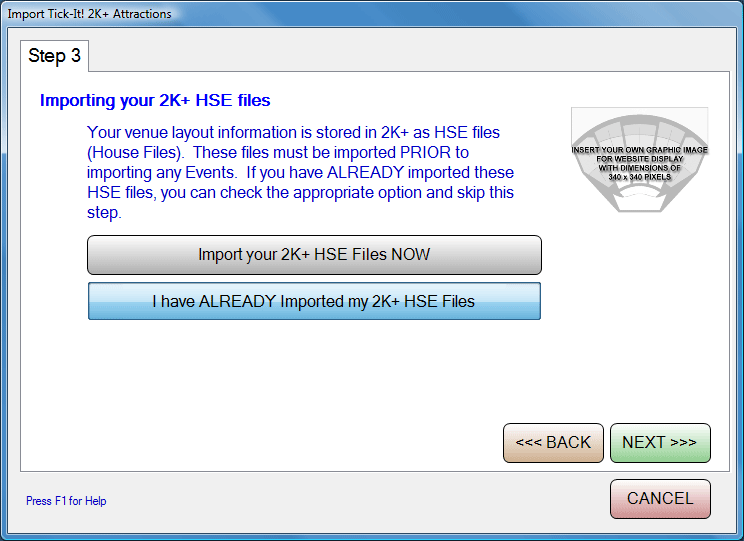
If you have not already imported your Tick-It! 2K HSE files, you may do so now. In this example we have selected the option that says we have ALREADY imported these records. Click NEXT to continue.
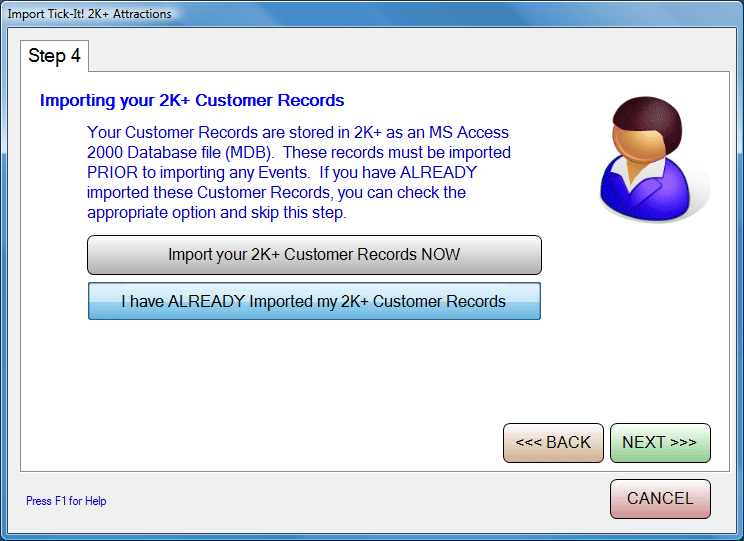
If you have not already imported your Tick-It! 2K Customer files, you may do so now. In this example we have selected the option that says we have ALREADY imported these records. Click NEXT to continue.
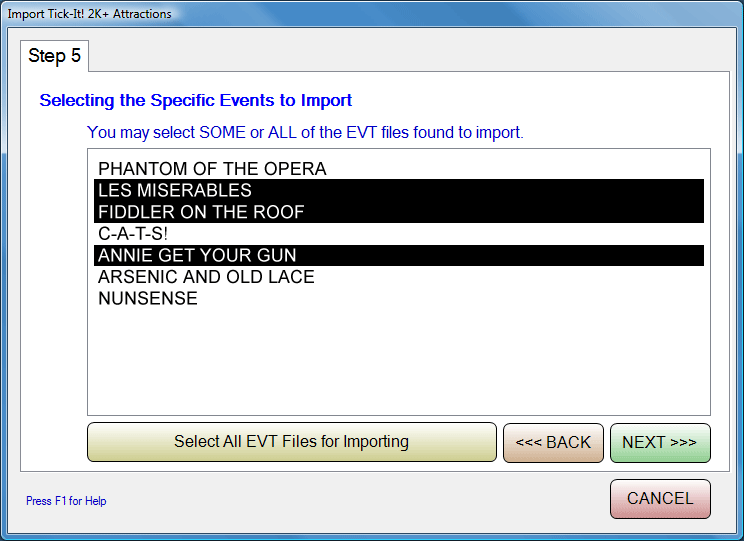
You will be presented with a list of available 2K Events to import. You may select ALL of them, or any number of them by holding down the CTRL key while clicking on the event in the list. In this example, we have chosen to import only three of the available events. Click NEXT to continue:
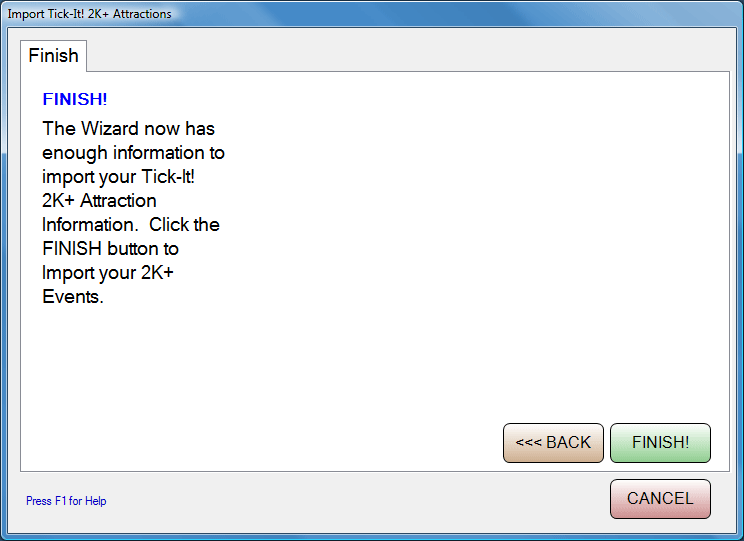
At this point, the Wizard has enough information to import your events. Click FINISH to begin the import process:
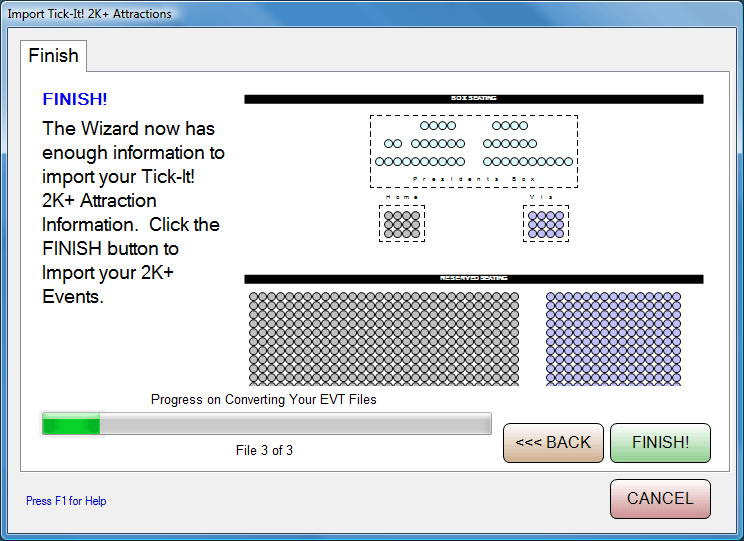
During the Import, as feedback, the Seating Diagrams of the Venues being used will appear. A scroll bar will indicate overall progress.
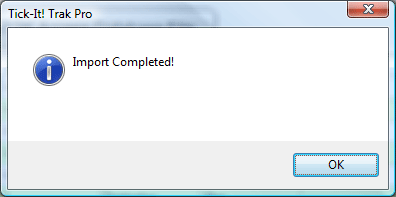
When finished, you will be notified by this message:
See Also:
Importing Customers from
Tick-It! 97/2K
Importing Venues from Tick-It! 97/2K