
Help System
 |
Help System |
Tick-It! Trak Pro allows you to import your existing Customer Records from the venerable old program, WINTIX. This will enable users that are upgrading from this software to seamlessly migrate their customer list to Trak Pro. Now, WINTIX keeps Customer Records in a PAIR of Microsoft FoxPro files with the names of CUSTOMER.DBF and CUSTOMER.FPT. BOTH files MUST be present in order for the import to function. These older Customer Records are much simpler, and contain a great deal less information than Trak Pro Customer Records. For example, all DBF files text information only, and do not have any "customer photos".
From the CUSTOMERS menu, select IMPORT then IMPORT FROM CENTER STAGE WINTIX:
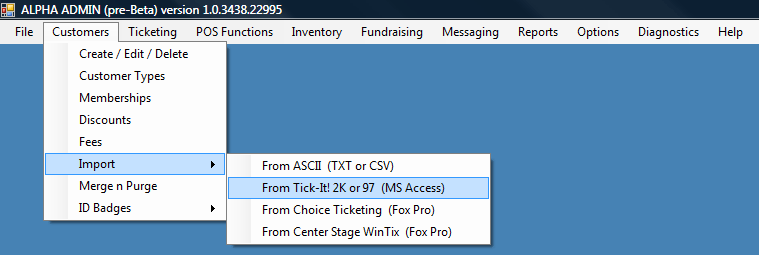
You will be presented with a dialog window as shown here:
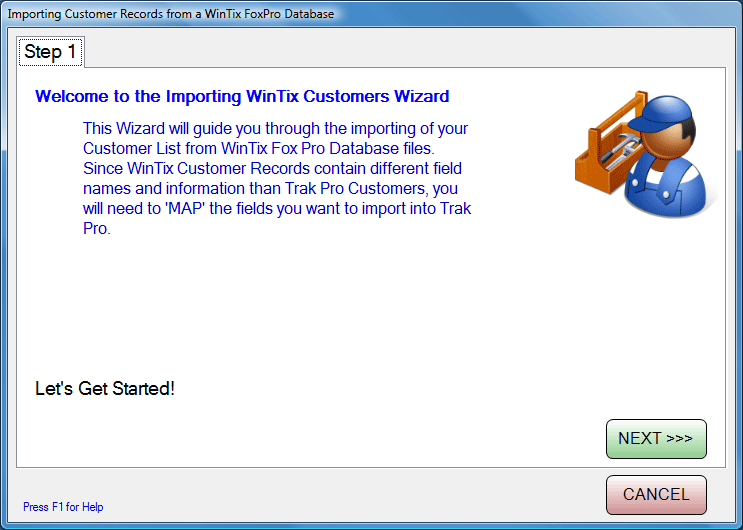
After reading the instructions, click on the NEXT button to proceed:
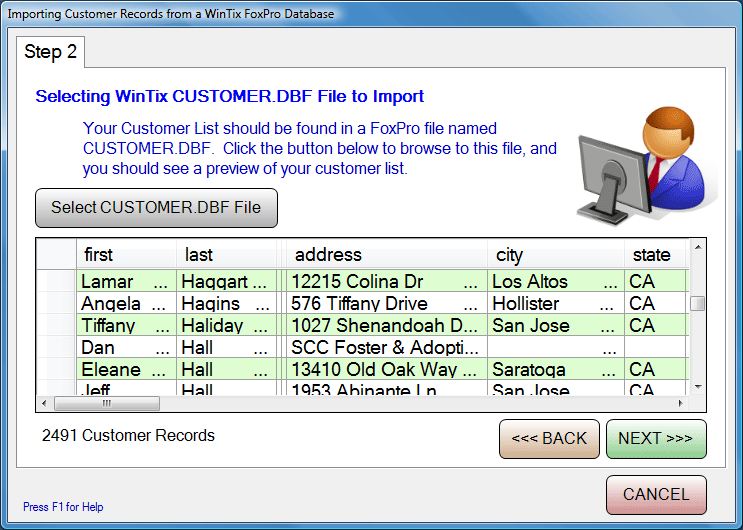
Click on the SELECT button to browse your folders for CUSTOMER.DBF and CUSTOMER.FPT files. Sadly, we cannot give you guidance on where these files may be located, as they vary from installation to installation. The data grid on the form will populate to let you see a preview of how Trak Pro has interpreted your CUSTOMER.DBF file customer information. Click NEXT to continue:
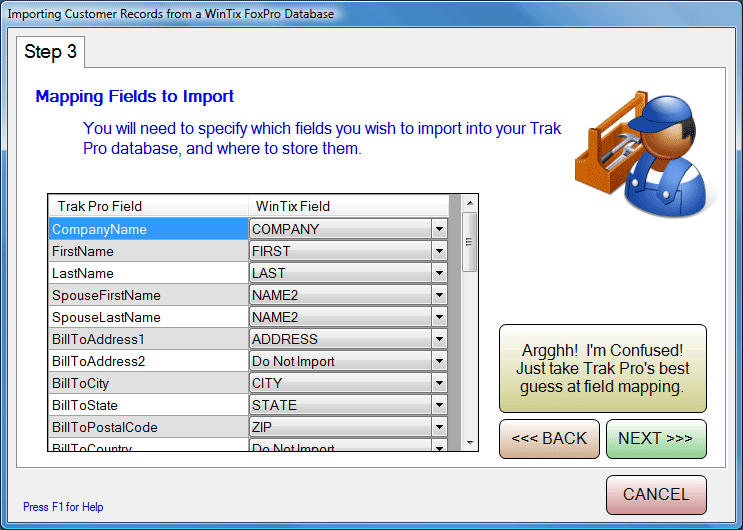
The next step is to select which of the Available Fields in Customer Record you wish to import and in which order. On the LEFT side of the table the DESTINATION FIELDS in your Trak Pro database are listed. On the RIGHT side of the table are the SOURCE FIELDS coming from your import file. Use the pull down selectors for each field to match up your IMPORT file with the Trak Pro Database. If you are confused, you can try to get Trak Pro to take a guess at mapping the fields, after it analyzes the columns. Since WinTix files have undergone many revisions with different versions, the list of fields may not be what the import routine expects. You might see the following error message:
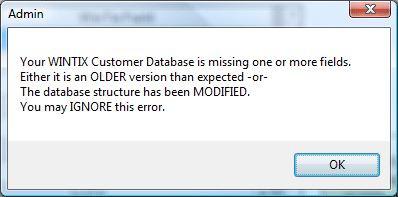
It is generally SAFE to ignore this error. When you are satisfied with the field mapping, click the NEXT button to continue:
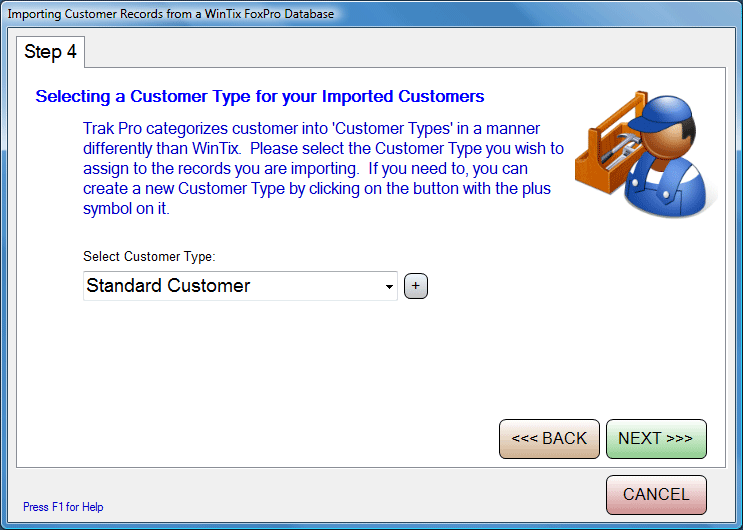
Select the Customer Type you would like each of these imported Customer Records to have. Use the drop down list under the Set Customer Type To field to select the type you want to use. If you wish, you can create a NEW Customer Type by clicking on the button with the PLUS symbol. Click the NEXT button to continue:
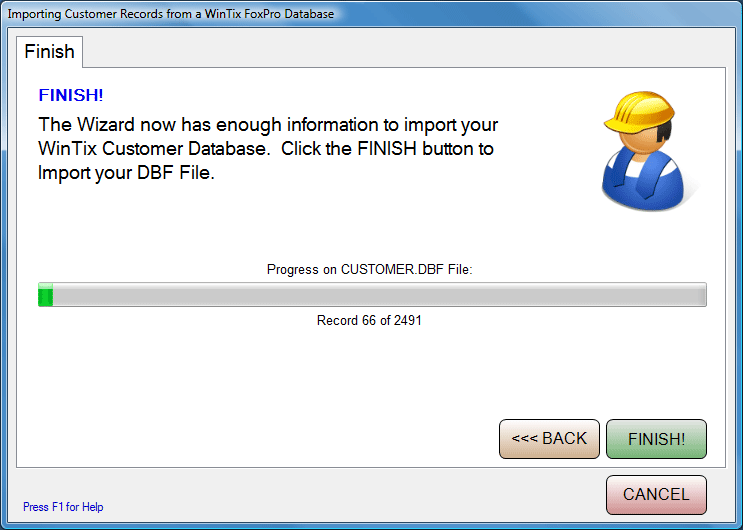
Click on the FINISH button to import the file. A Progress Bar will appear to keep you informed of the status. When completed, you will be notified with a dialog similar to this one:
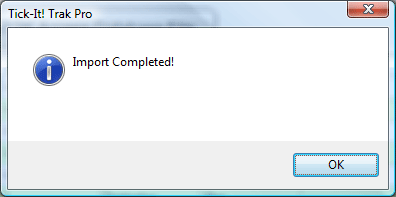
You might want to look at Customer Merge N Purge to eliminate any duplicates imported.
|
Important things to remember: FIRST, ALWAYS make a backup of your Tick-It! Trak Pro database BEFORE you run any import operation. Always. Why? Well, imports can go sour. If your import data file is not “clean”, of if you make any mistakes mapping the import fields to the actual data fields, you will end up with hundreds, possibly thousands of garbage records. The easiest way to undo an import operation gone bad is to simply RESTORE the backup of the database made just before the import. SECOND, the import procedure will produce DUPLICATE RECORDS if you import the same customers more than one time. This import is not “smart”. If you feed it a record, it does not check for the existence of that customer before creating a new record, so be careful with the data you feed it. THIRD, be sure that your import text file is “CLEAN”. No, we don’t mean check it for viruses, we mean that you should insure that the data is complete, consistent and formatted correctly. If you have data files that have misplaced commas or quotes, really bad things will happen with your import.
|
See Also:
Importing Customers from
Tick-It! 2K
Importing Customers
from ASCII Files
Importing Customers
from Choice Ticketing Systems
Customer Records