
Help System
 |
Help System |
Tick-It! Trak Pro can assist your POS Operators by selecting the next best available seats for your reserved seating events. But in order to enable this feature, you MUST supply some critical information about your seats, so that the program can make the appropriate calculations. There are TWO principle pieces of information you must supply:
■ A "Best Available Index" which is like a "goodness" number. 1 is the best, while higher numbers are less desirable
■ Information about what is to the left and to the right of each seat
Now, the Best Available Index indicates to the computer how "good" the seat is. 1 is best, and higher numbers are worse. For seats that should NEVER be considered for best available selection, give them an Index of zero. Best Available Index values SHOULD NOT CROSS ROWS! In other words, seats different rows should have different Best Available Index values. Take a look at this simple example:
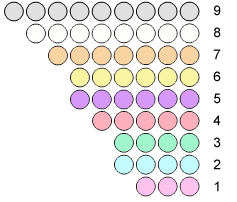
Here in the picture above, the seats have been colored (by hand) for each best available index value. The PINK seats at the front are deemed to be the best, so ALL the seats in that row get a value of 1. The seats in the next row back (colored in CYAN) all get a value of 2. The next row back, 3, then 4 and so on and so forth. It is possible for you to individually set the BEST AVAILABLE INDEX by hand for each and every seat in your house. This would result in the most "intelligent" seat selection for your venue, since you will have encoded your best human judgment as to the desirability of the seats. However, for very large venues, such as sporting stadiums, this would not be practical, as there are literally 10's of thousands of seats to set. Fortunately, Trak Pro has a mechanism for automating the assignment of BEST AVAILABLE INDEX values.
There is a SPECIAL 3D Object that you can insert into your venue called the POINT OF INTEREST. This object represents the thing that everybody wants to see. For a ball club, you might want to drop the POINT OF INTEREST on top of the pitcher's mound. For a large amphitheatre, you might want to drop the POINT OF INTEREST on the stage. For a speaking hall, you might want to drop the POINT OF INTEREST on the podium. While editing your display quadrant, use the pop-up menu to insert a 3D Object. Select the POINT OF INTEREST using the pull down menus as shown below:
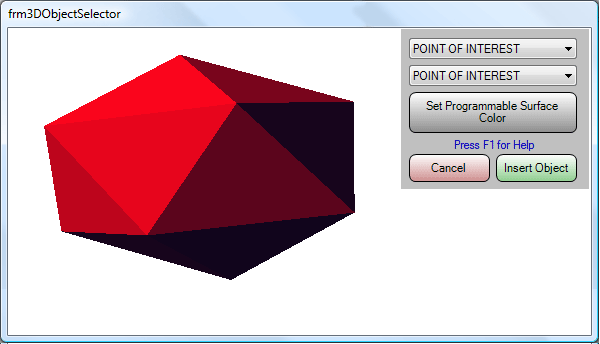
Here we have colored it red to look pretty in the HELP file. The color is un-important. You will be warned that a venue can have ONLY ONE Point of Interest object:
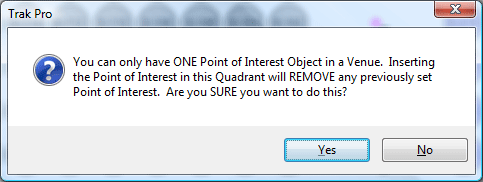
Drag the point of interest to the location you want.

When you are done building your
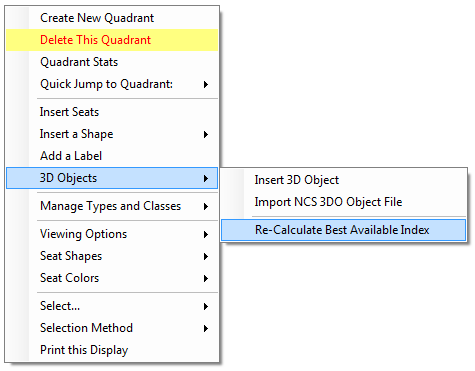
house, from any display quadrant in the venue builder, right click anywhere to
bring up the menu. Select RE-CALCULATE BEST AVAILABLE INDEX as shown here:
You will be prompted to confirm the operation with this message:
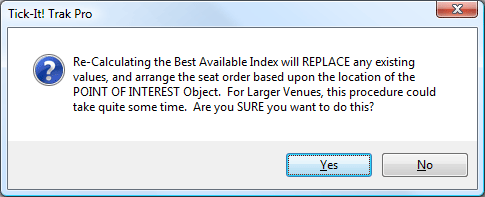
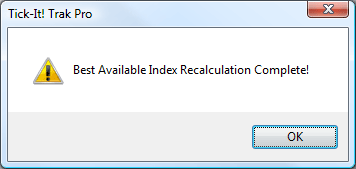
Click YES to begin the Recalculation procedure. For large venues and slow computers, this could take some time. You will see a progress bar at the top of the screen in the toolbar. When completed, you will get this notification:
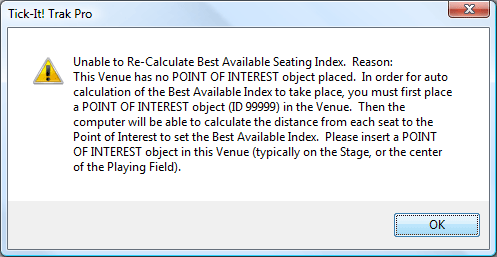
If you not place a POINT OF INTEREST object in your venue, then Trak Pro cannot perform the automatic calculation for you. You will get this error message:
After the automatic calculations are done, you can edit individual blocks of seats to "fine tune" seat selection. For example, you will probably want to assign BEST AVAILABLE INDEX values of ZERO to seats such as OBSTRUCTED VIEW or WHEELCHAIR, so that these sorts of seats are selected ONLY by an Operator's manual actions.
In addition to a "goodness" rating, the Trak Pro system also needs to know what seats are adjacent to each other, in order to keep groups of people seated together. We call this information the TO-LEFT and TO-RIGHT values for each seat. Take a look at this simple example:
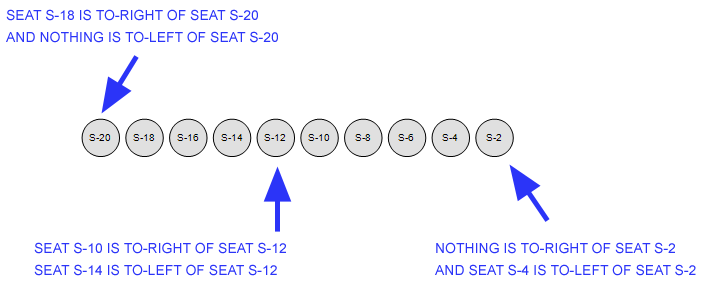
Fortunately, Trak Pro has a means to automate the procedure of setting up the seat adjacency information. We will use the example of Row S above to illustrate:
While in the Venue Builder Quadrant Editor, select Row S:

The selected seats will change, and display the database record ID for each seat:

While the seats are selected, the SEATS OPERATION PANEL will appear on the right hand side of the screen. Click on the option that indicates HOW seat numbers are incrementing in the selected row.

For this example, we have selected that the seat numbers increment from RIGHT to LEFT. Take a look at the UNSELECTED Row S above. The seat numbers go 2, 4, 6, 8, 10... FROM RIGHT TO LEFT.
Once you have indicated the proper increment direction for the row, click on the button AUTO ASSIGN TO-LEFT & TO-RIGHT
Repeat this procedure for all the Rows in your venue. You can speed this up by selecting more than one row at a time, provided that the seat numbers increment in the SAME direction for ALL the selected Rows, and that EACH Row has a DISTINCT Row Label.
See Also:
Seat Operations in the
Venue Builder
Best Available Seat
Selection
Display Quadrants
Inserting 3D Objects