
Help System
 |
Help System |
POS MODULE:
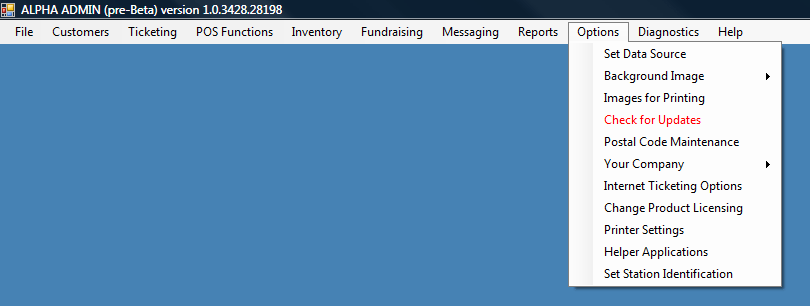
Printer settings are under the Manager Functions,
Station Setup
 |
Printers for any specific function can be ENABLED or DISABLED, as indicated by a large toggle buttons shown here on the left. |
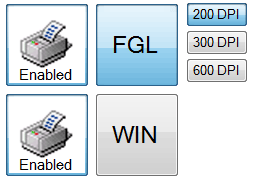 |
Some printer functions allow you to
designate either a legacy FGL Thermal
Ticket Printer (driven by a Generic Text Only Driver) or a Windows
Driver printer, such as a Laser or Inkjet. When selecting an FGL Printer, you must also indicate its DPI Setting, so Trak Pro can accurately translate format instructions for these printers. |
TICKET PRINTER SETTINGS
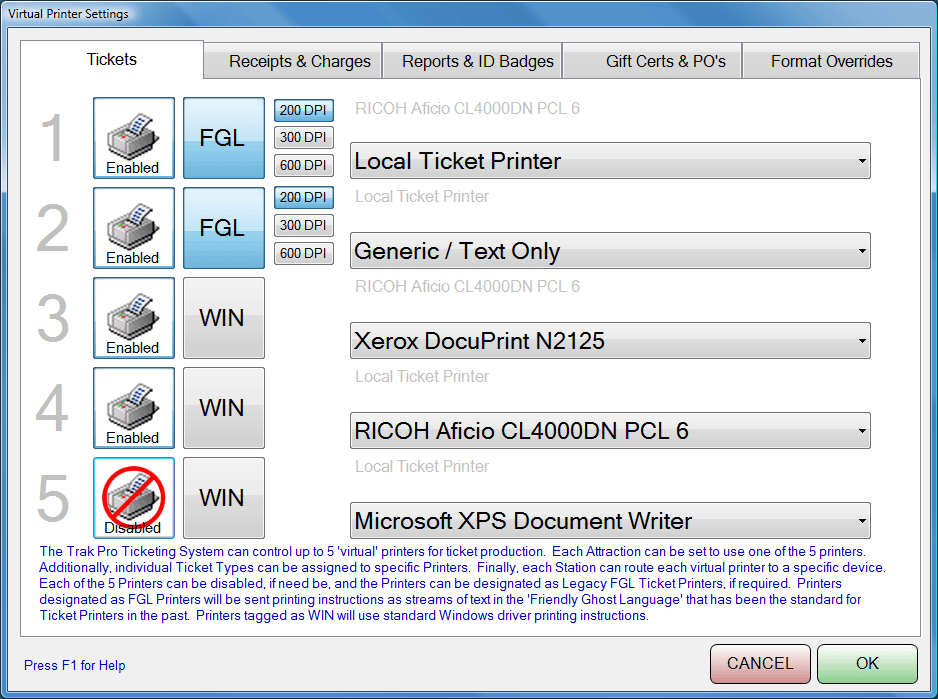
Using the Ticket Printer pull down list, click or touch the pull down menu to reveal printer types. If the pull down area is blank, you will need to load printer drivers in your Windows Control Panel, Printers and Faxes folder first. Locate your printer type on the pull down menu. Click or touch the screen to enter the type.
RECEIPT AND CHARGE SLIP PRINTER SETTINGS
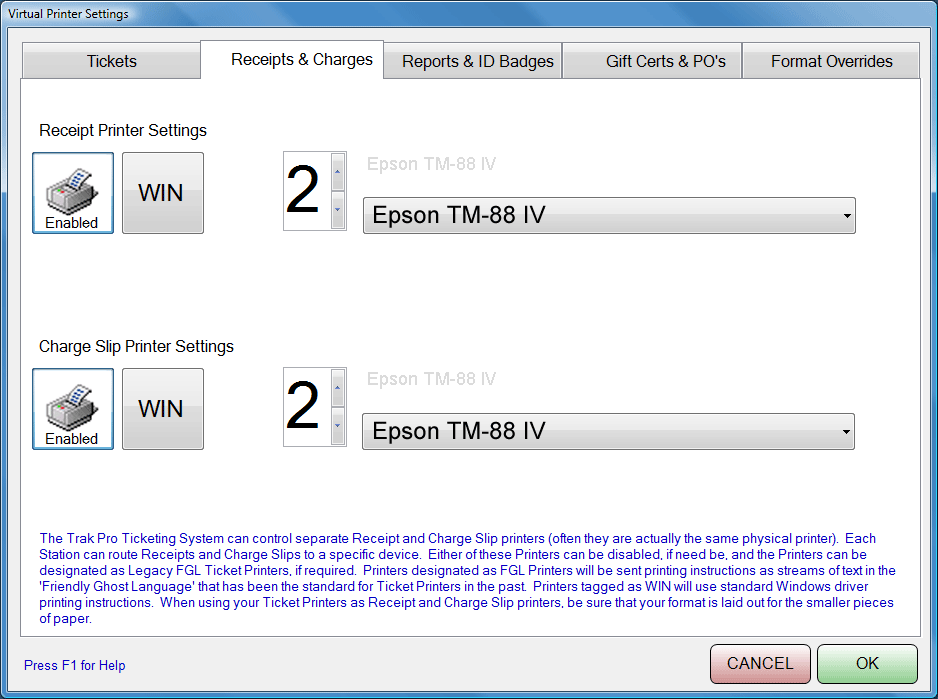
Using the Printer pull down list, click or touch the pull down menu to reveal printer types. If the pull down area is blank, you will need to load printer drivers in your Windows Control Panel, Printers and Faxes folder first.
REPORTS AND ID BADGE PRINTER SETTINGS
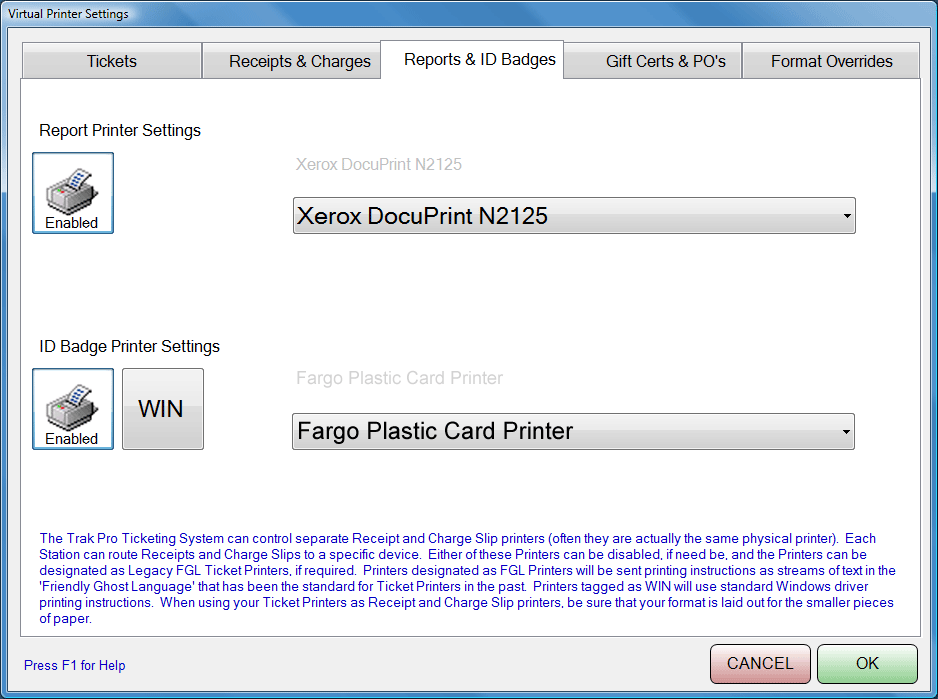
The REPORT printer MUST be a WINDOWS printer. You CANNOT specify an FGL Printer to use as your report printer.
Using the Printer pull down list, click or touch the pull down menu to reveal printer types. If the pull down area is blank, you will need to load printer drivers in your Windows Control Panel, Printers and Faxes folder first.
GIFT CERTIFICATE AND PURCHASE ORDER PRINTER SETTINGS
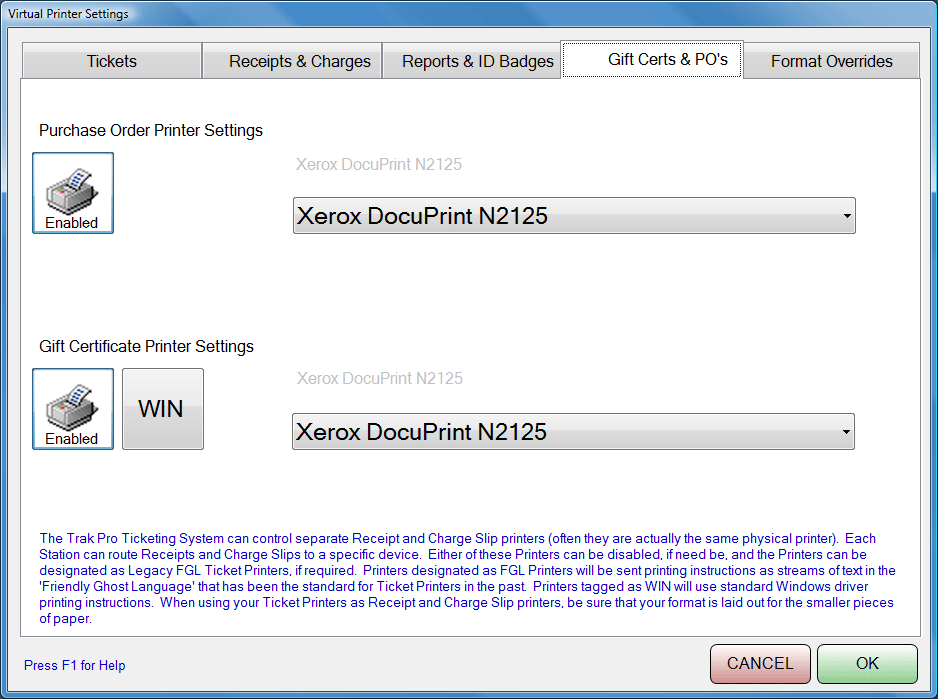
The PURCHASE ORDER printer MUST be a WINDOWS printer. You CANNOT specify an FGL Printer to use as your purchase order printer.
Using the Printer pull down list, click or touch the pull down menu to reveal printer types. If the pull down area is blank, you will need to load printer drivers in your Windows Control Panel, Printers and Faxes folder first.
STATION FORMAT OVER-RIDE SETTINGS
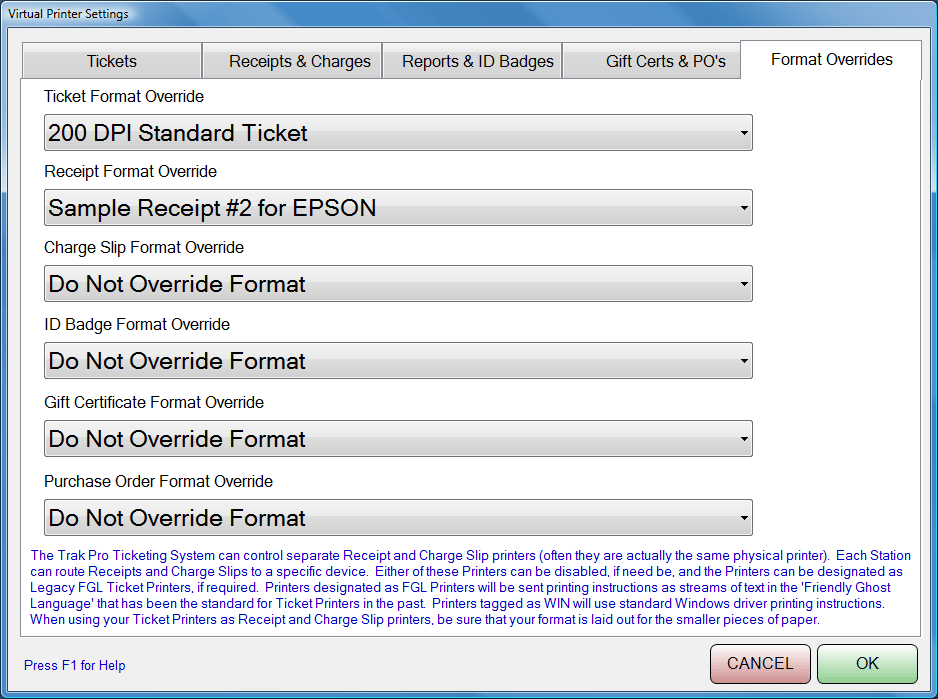
Now it is possible to "mix and match" the hardware deployed in your facility. In order to save money, you might wish to hang on to those "older" 200 DPI printers, and use them at stations with lower traffic. When mixing and matching hardware, you might end up with a station that has printers which are NOT capable of the same printing functions as your other stations. If this is the case, you might want to set up a STATION FORMAT OVER-RIDE, where you can specify a particular format to ALWAYS be used AT THIS STATION for a particular document type. Note in the example above. Since THIS station is equipped with an older 200 DPI thermal printer for tickets, we are instructing THIS STATION ONLY to always print tickets using the 200 DPI STANDARD TICKET format. The tickets might not look as fancy as the other stations, but you can OPTIMIZE the instructions to make the best out of THE AVAILABLE HARDWARE. This example shows the same thing for the receipt, setting it to a format tailored for the EPSON printer. The other printer will assume whatever format the system sends it during the print request.
Using the pull down list, click or touch the pull down menu to reveal available system formats. If the pull down area is blank, you will need to define some document formats using the WYSIWYG editor first.
Click the OK button to exit and save your printer settings.
See Also: