
Help System
 |
Help System |
To “jump start” your menu operations, the Trak Pro Builder has a built in “Concession Wizard”. This will assist in creating your snack food, candy and beverage menus, and do most of the “heavy lifting” for you. Here is how it works, from the Main Menu select POS FUNCTIONS, then FOOD SERVICE MENUS, then FOOD SERVICE MENU WIZARDS, then CONCESSIONS MENU BUILDER:
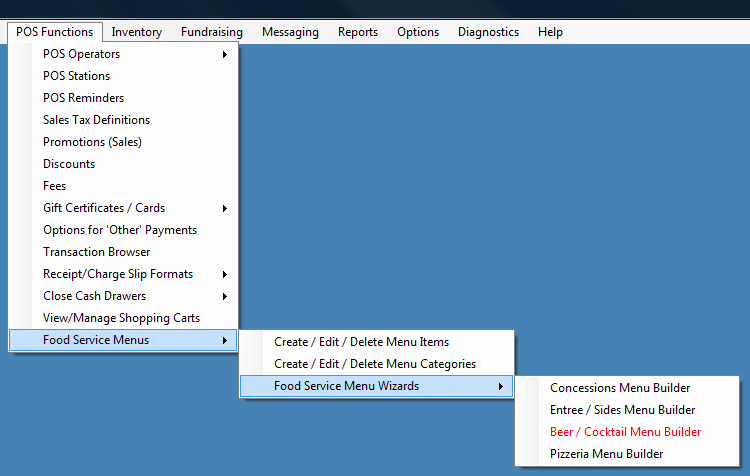
This will start the Wizard, and bring you to your first set of decisions to make:
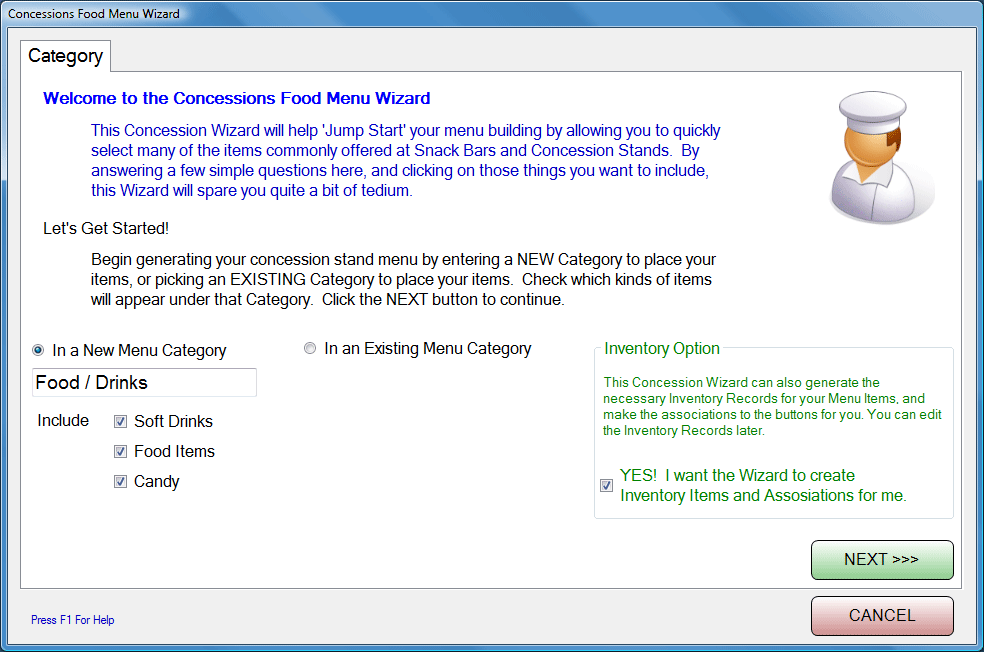
STEP 1: CATEGORY AND INVENTORY
You can either place your new menu items in a NEW Menu Category (as shown in the example above) or in an existing Menu Category. You can also select which items of the Wizard you want to add in this session. Your choices are:
■ Soft Drinks
■ Food Items
■ Candy
There is another option you can pick, and that is the Automatic Inventory option. When the Wizard creates Menu Items for you, it can also generate the appropriate inventory item records that go along with those items. For example, the Wizard can add inventory records for soft drink cups, lids and straws, or buns and meat patties for burgers. It is a powerful way to get a good start on building your inventory records.
In our example, we have selected all the options, so you can see just what the Wizard can do for you. Click the NEXT >>> button:
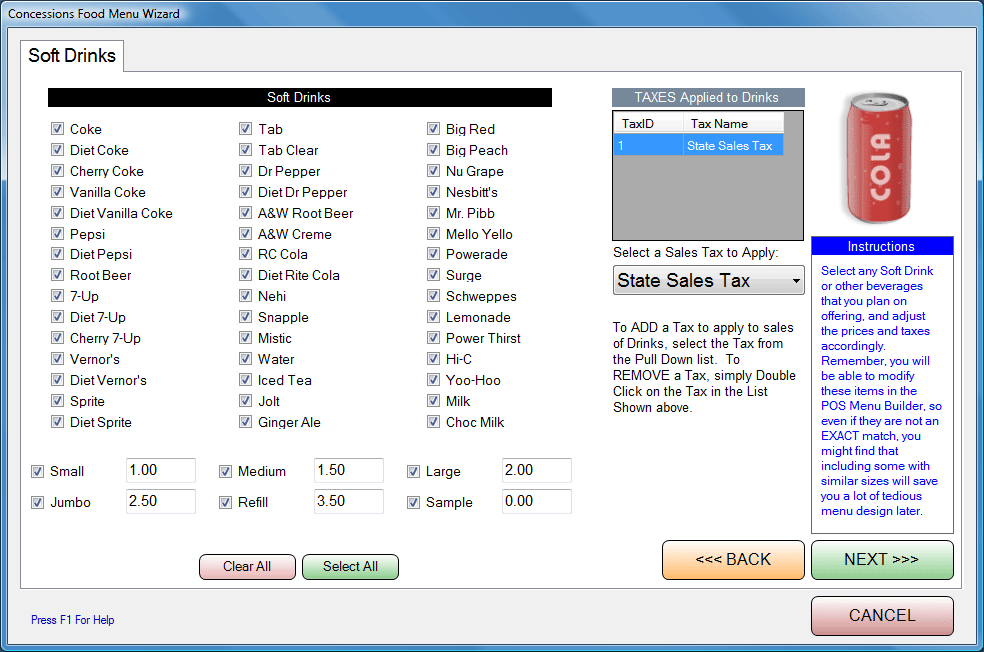
STEP 2: SOFT DRINKS
Pictured above is the Soft Drink Wizard panel. You can choose from 45 commonly offered soft drinks, including POWER THIRST, and from 6 different serving size options. Simply check the drinks you plan on offering, along with the sizes and prices you will charge. You can then select any taxes that will be applied to soft drink sales. Pictured above is the State Sales Tax, although depending upon your location and operation, your sales may be tax exempt. Click on the NEXT >>> button:
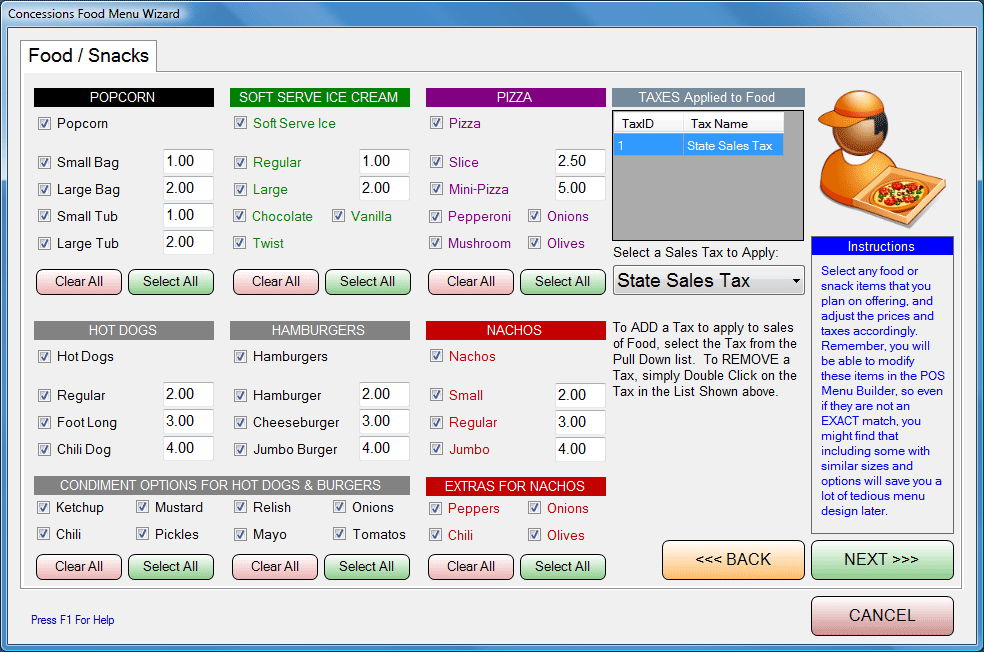
STEP 3: FOOD / SNACKS
Pictured above is the Food / Snacks Wizard panel. You can choose from 6 different food items typically offered at concession stands, along with sizes, prices and modifiers (like condiments and extras). Again, check the items you wish to offer, fill in the prices, set any sales taxes, and then click the NEXT >>> button:
STEP 4: CANDY
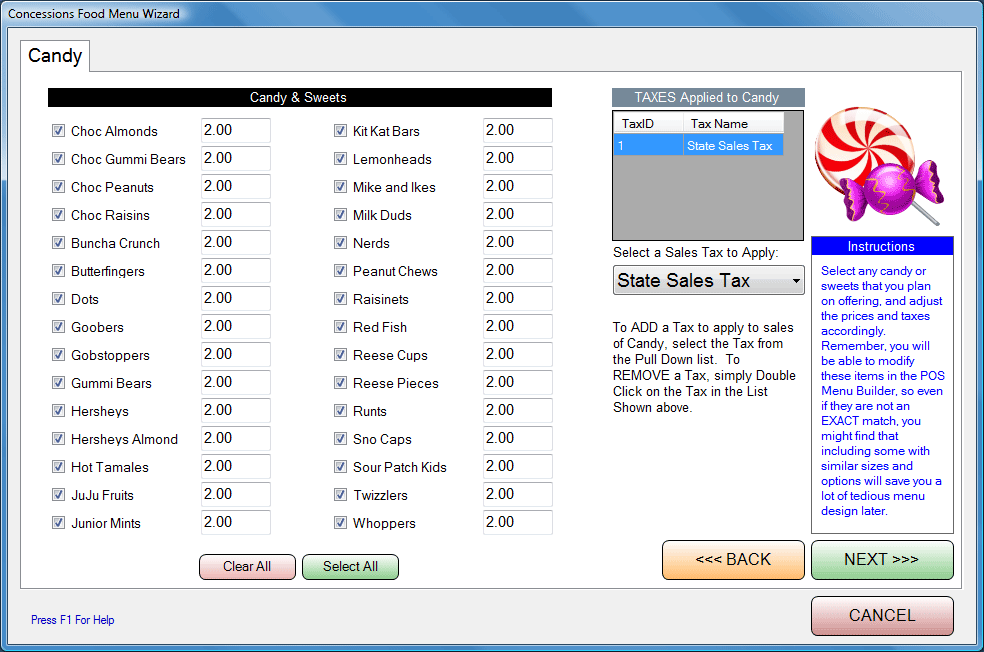
Pictured above is the Candy Wizard panel. You can choose from 30 different candy items typically offered at concession stands, along with their prices. Again, check the items you wish to offer, fill in the prices, set any sales taxes, and then click the NEXT >>> button:
STEP 5: CONFIRMATION
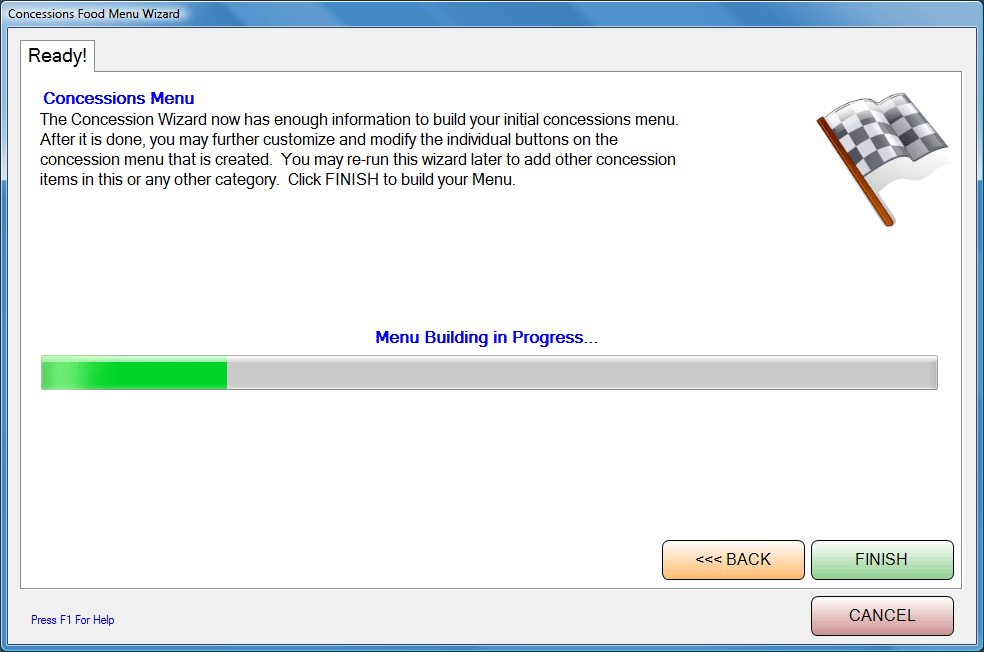
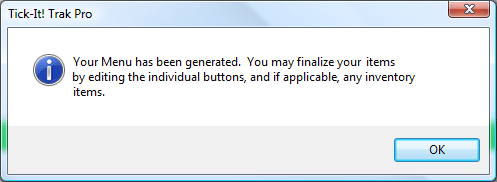
Pictured above is the final confirmation step before you build your concession menu. If you want to make any changes, you can click on the <<< BACK button. If you are satisfied with your options, click on the FINISH button, and your concession menu will be constructed for you. When the wizard is finished, you will be prompted with the following message:
HELPFUL TIPS:
It is
possible to run the Wizard more than once. You can elect to create a
category just for CANDY, for example, then run the Wizard selecting only the
CANDY options. Then, you can run the Wizard again, opting only for a
category called DRINKS, and check just the Soft Drink options.
If you
don't see something that matches a menu item you want to offer, just pick
something CLOSE, so that the Wizard will build all the tedious records for
you. It is EASIER to change a HAMBURGER to CHICKEN SANDWICH, that it
is to build a whole Chicken Sandwich Menu item and choices by hand.
Just because you build a menu category of SOFT DRINKS, then populate it with a bunch of choices, DOES NOT MEAN THAT YOUR POS STATIONS CAN "SEE" IT! After creating food menus, you will have to EDIT POS Station Records to GIVE THEM PERMISSION to USE the new menus!
See Also:
Concessions Menu
Wizard
Food Entree Menu Wizard
Pizzeria Menu Wizard
Food Menu Categories
Food Menu Item
POS Stations
Selling Food Service